
Silent Hill: Townfall Part 5 Richard Walkthrough — Chapters 12–13
Townfall Part 5 walkthrough — Richard's CEG HQ route: generator and lift, Shotgun, Access Card 3/4, the projector and the six slides.
FAQ
Is Richard playable in Silent Hill: Townfall?
How do you solve Richard's projector puzzle in Townfall?
What is the slide order in Townfall Part 5?
What happens in Part 5?
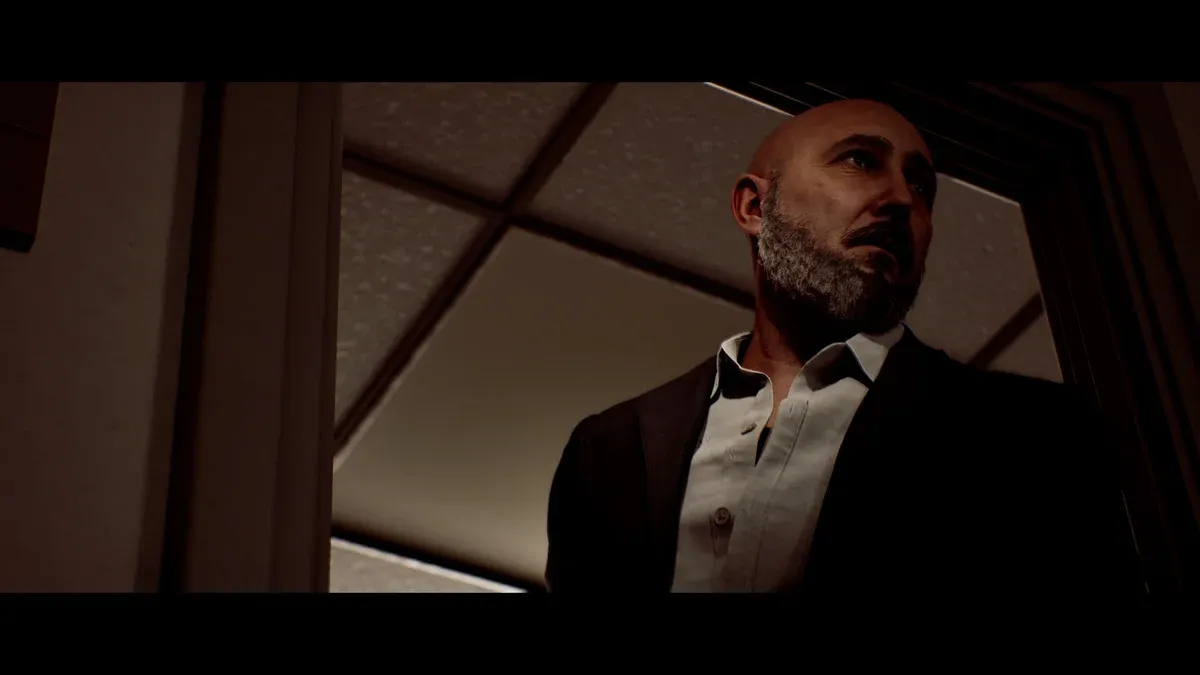
Richard (chapters 12–13) is the Part where the man who called Simon home finally gets the controller — and CEG HQ through his eyes is one long chained access puzzle: generator → lift → card → projector → slides → Floor 10. The tower’s six map sheets are collected across the route, starting behind the lobby reception desk. It chains 12 Documents and Clues behind the route itself — collect as you go rather than planning a second sweep.

How do you get into the tower?
- Press the button in the security booth left of the main entrance to open the parking-lot gate.
- Clear the two exterior buildings (documents + the Generator Key in the upstairs Manager’s Office cabinet).
- Generator (rear levers): left vertical, middle vertical, right lever diagonal right. Insert the key at the front, pull the red lever.
- Ride the now-powered exterior lift and climb the scaffolding into CEG HQ.
- Back in the first building, the powered computer yields two more pickups and the blue locker at the room’s end opens with
147— supplies only.
How does the tower route work?
| Step | Detail |
|---|---|
| Floor 2 | Richard automatically obtains the Shotgun — the Part’s answer to the Widows |
| Stairs 2→3 | Mezzanine-to-Fifth-Floor map beside the body |
| Floor 5 | Boardroom cutscene → take Access Card — Level 3/4 from the table |
| Floor 4 | CEG Storeroom Key → Media Storeroom → GENERAL STORAGE cabinet → Projector Bulb + Checkout Sheet (points at the lens + 2709) |
| Floor 3 | Card + keypad 2709 opens Finance → CFO desk drawer → Projector Lens |
Optional supply keypads: Public Relations Records 1607 (3F), Floor 2 storage 1306, Floor 1 storeroom 4512 — all supplies-only rooms, listed on the locker codes page.
How do the Widows fight?
Widows are the Richard-section enemies — corner ambushes and a stabbing pounce on a turned back, and they close distance fast. The Floor 2 Shotgun is the reliable answer; on a low-kill run, evade where the ascent allows it instead. The 30-silence trophy doesn’t complete inside this Part — the counter carries into NG+.
How do you finish the boardroom sequence?
- Repair the projector — install bulb then lens, press the red switch on its left side. The room changes; take the CEG Maintenance Key from the body at the table.
- Maintenance route — the key opens maintenance doors on every floor; descend the ladders through Operations (F2) to the mezzanine and collect the six slides.
- Arrange the slides — order
D–F–B–C–E–Aagainst the boardroom agenda → CEO Access Card → the way up to Floor 10.
What does Part 5 change about the story?
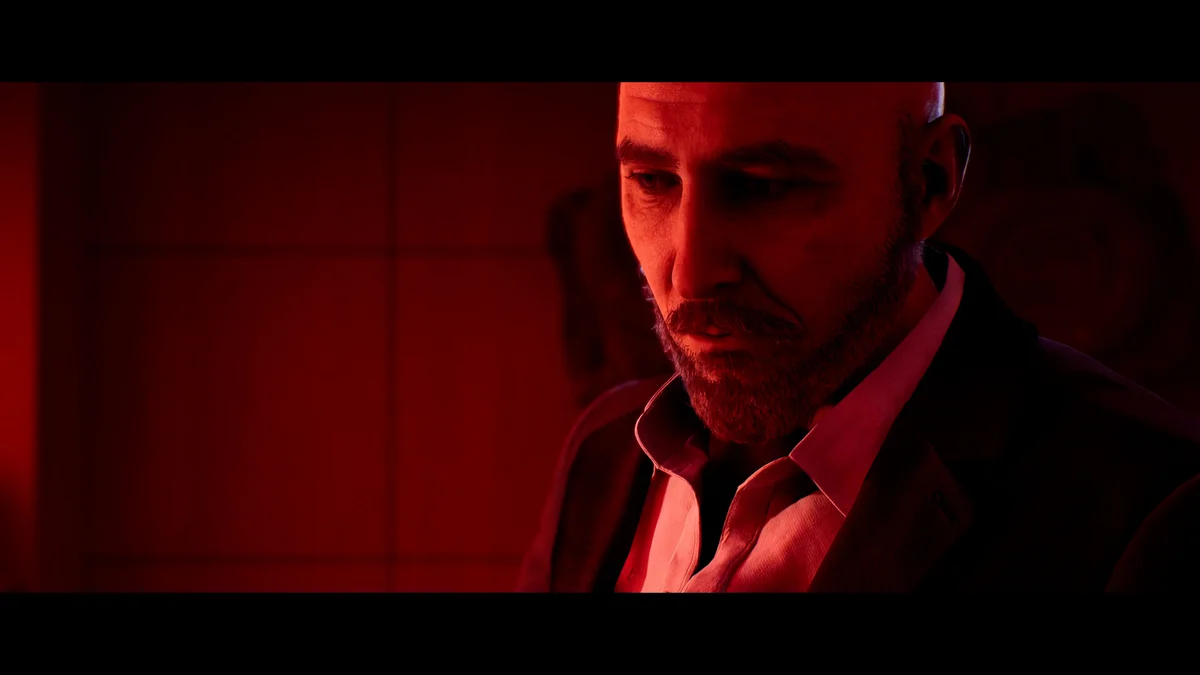
The tower is where Richard’s version of the disaster gets its architecture — a boardroom arranged to tell the story the company wants told. The story-explained page lays out what his account is for. Then the perspective hands back to Simon on the tenth floor — the Part 6 walkthrough covers the tower rotation, SWDP and the ending branch.
Related Articles
CEG HQ & SWDP — Silent Hill: Townfall Location Guide
CEG HQ and the SWDP facility in Silent Hill: Townfall — the Chapman Energy Group tower's ten floors and six map sheets, the office codes, and the endgame SWDP plant.
Last updated Oct 5
Dr. Glenn — Silent Hill: Townfall Character Guide
Dr. Glenn is the Medical Centre doctor Simon reports to in Silent Hill: Townfall Part 3 — his role in the Patient sequence, the hospital and the story.
Last updated Oct 5
Silent Hill: Townfall Editions — Standard vs Deluxe, Bonuses & Prices
Townfall editions compared — Standard $49.99 vs Deluxe $59.99, the artbook, soundtrack and Simon's outfit, preorder bonuses and the PS5 physical release.
Last updated Oct 5
Was this helpful?
Thanks for the feedback!