
Silent Hill: Townfall Map & Locations — Every Area in St. Amelia
Every map pickup and named area in Townfall — Shorefront, the Medical Centre, Clara Woods, CEG HQ and SWDP, and how the 'Different' variants work.
FAQ
Where do you get maps in Silent Hill: Townfall?
What does '(Different)' mean on a Townfall map?
Can you open the map while hiding in Townfall?
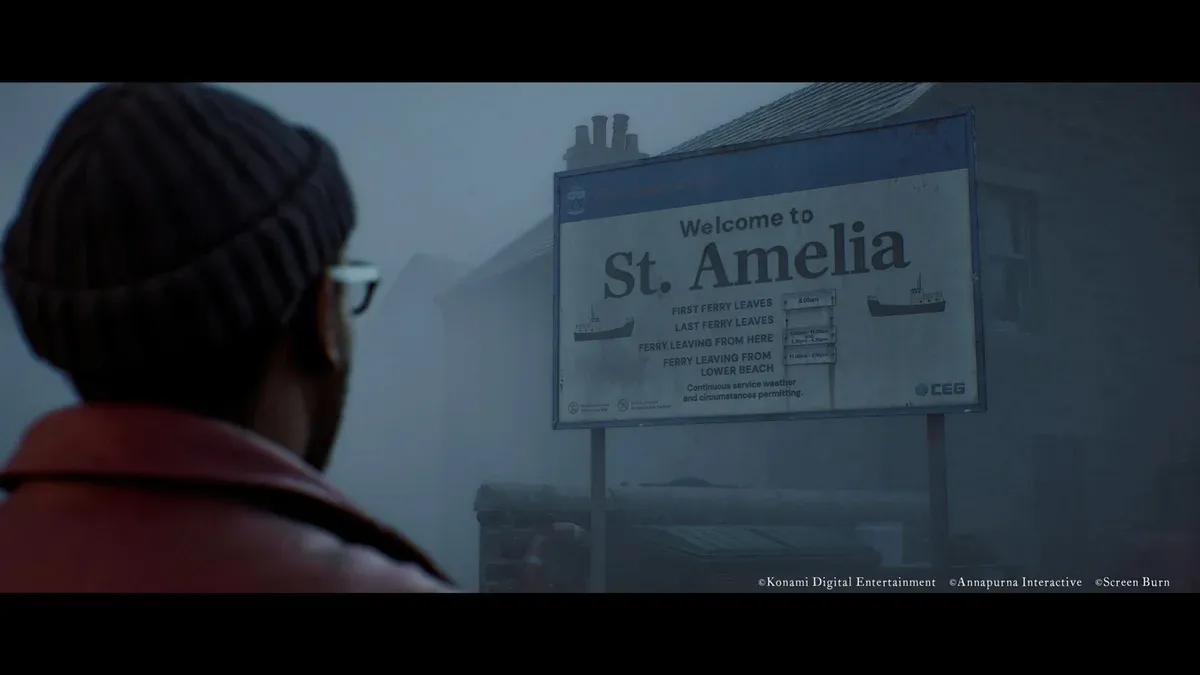
How is St. Amelia laid out?
Simon Ordell’s route runs through one continuous chain of districts rather than an open world. There is no backtracking between Parts — each area closes behind you — so the smart habit is to pull up the local map, sweep every reachable room, and only then trigger the next story beat. The walkthrough and the six per-part walkthroughs are sequenced around exactly that.
Where is every map pickup?
Maps are physical items. If a corridor looks unfamiliar, you probably walked past the sheet:
| Map | Where it is picked up | Used during |
|---|---|---|
| Shorefront District South | Obtained automatically as the opening red-fog route reaches Town Square | Part 1–2 |
| St. Amelia Medical Centre | Wall inside Surgery at the start of Zoe’s patient section | Part 3 |
| Medical Centre (Different) | Counter near the upper-floor metal door at the start of Simon’s section | Part 3 |
| Clara Woods Estate | Attached to the Clara Woods sign after the road splits | Part 4 |
| CEG HQ, Ground Floor | Behind the lobby reception desk | Part 5–6 |
| CEG HQ, later floors | Collected near the stairs and a body on Richard’s route | Part 5 |
| SWDP (Different) | Automatic on entering the area | Part 6 |
CEG HQ alone accounts for six map sheets across its floors, per release-week walkthroughs — the tower is the densest navigable space in the game. See CEG HQ & SWDP for the floor-by-floor breakdown.
What are the main areas?
| Area | Parts | What’s there |
|---|---|---|
| Shorefront | 1–2 | Pier, Town Square, Haldane Hotel, family clinic, pharmacy, Zoe’s house, Community Gardens |
| Medical Centre | 3 | Dr. Glenn, the Patient, records room — plus its ‘(Different)’ Otherworld variant and the blood-routing puzzle |
| Clara Woods | 4 | The union estate — Brae houses, CEG Employee Lockers, Lost and Found |
| CEG HQ & SWDP | 5–6 | Chapman Energy Group’s tower across ten floors, then the industrial SWDP facility |
Two rules of thumb for navigation. First, ‘(Different)’ areas do not share layouts — a door that exists in the normal Medical Centre may be a wall in the Otherworld version, so read the correct sheet. Second, the map refuses to open inside a hiding spot, even though the CRTV works there; plan routes behind a closed door instead.
How do maps interact with collectibles?
Nothing on the map marks pickups for you — the 138 collectibles are found by sweeping, not by icons. Because most areas are one-shot visits, the reliable pattern is: arrive → grab the map sheet → clear every branch → then advance the objective. The per-part pages list what each district still holds at each step.
Related Articles
Silent Hill: Townfall Part 1 Arrival Walkthrough — Chapters 1–4
Townfall Part 1 walkthrough — the pier, Town Square, the hotel door wheel, Zoe's house and organ box, and the clinic–pharmacy–scales chain in route order.
Last updated Oct 5

Silent Hill: Townfall Part 2 Zoe Walkthrough — Chapters 5–6
Townfall Part 2 walkthrough — Zoe's playable rounds, the Pager and Axe, the garden shed code 1993, Mr. Stewart's house, the Medical Security call and the pistol.
Last updated Oct 5

CEG HQ & SWDP — Silent Hill: Townfall Location Guide
CEG HQ and the SWDP facility in Silent Hill: Townfall — the Chapman Energy Group tower's ten floors and six map sheets, the office codes, and the endgame SWDP plant.
Last updated Oct 5
Was this helpful?
Thanks for the feedback!